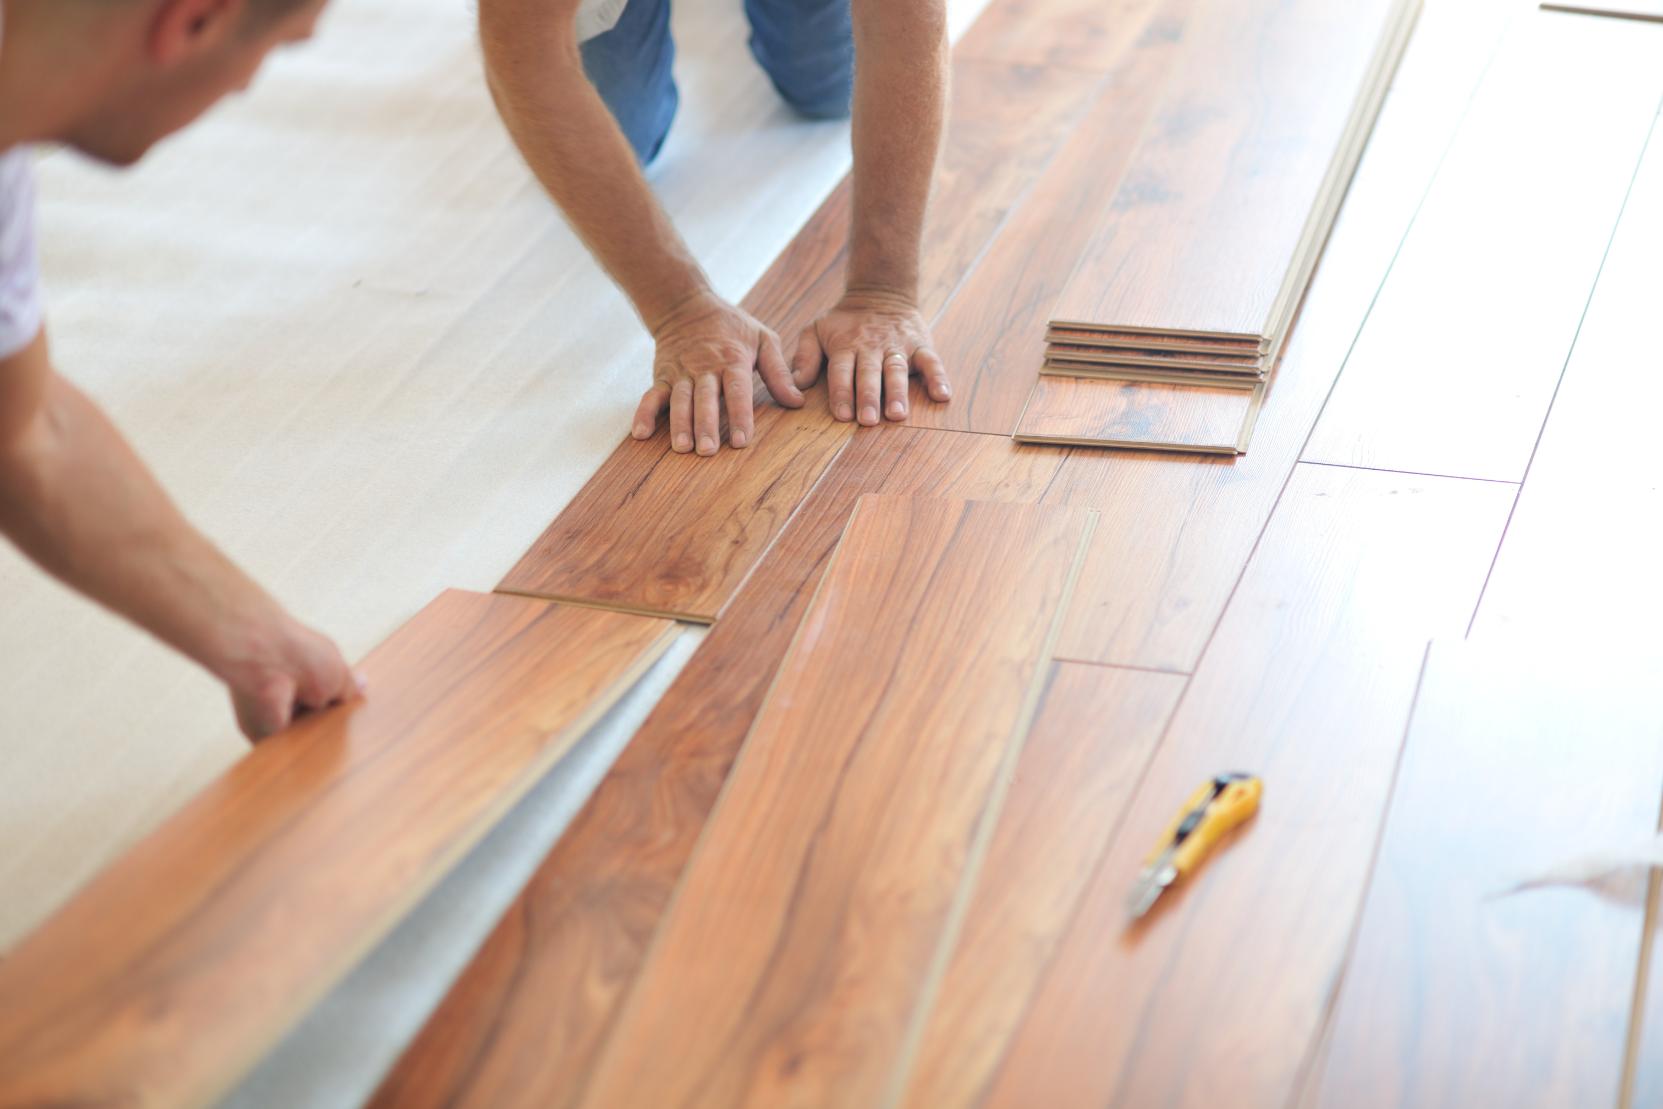
In the bustling city of Melbourne, where eclectic architecture and modern designs merge seamlessly, the essence of a polished floor adds a touch of elegance and sophistication to any space. Whether it's a cozy home nestled in the suburbs or a chic office in the heart of the city, the process of sanding and polishing floors is a crucial step in revitalizing and preserving their natural beauty. In this guide, we'll delve into the effective process for Sanding and Polishing Floors, ensuring a flawless finish that withstands the test of time.
Assessment and Preparation: Before diving into the sanding and polishing process, it's essential to assess the condition of the floors. Identify any cracks, scratches, or imperfections that require attention. Remove any furniture or obstacles from the area to create a clear workspace. Additionally, ensure proper ventilation to facilitate the drying process of the polishing materials.
Sanding: Sanding is a fundamental step in restoring the luster of wooden floors. Begin by selecting the appropriate sandpaper grit based on the condition of the floor. Coarse grits are suitable for removing deep scratches and imperfections, while finer grits are ideal for achieving a smooth finish. Using a floor sander, work methodically across the surface, moving with the grain of the wood to prevent damage. Pay extra attention to corners and edges, where the sander may not reach effectively. Repeat the sanding process with progressively finer grits until the desired smoothness is achieved.
Cleaning: After sanding, thoroughly clean the floor to remove any dust, debris, or residual particles. A vacuum cleaner or a tack cloth can be used to ensure a pristine surface before proceeding to the polishing stage. Any remaining dust or dirt can compromise the quality of the final finish, so meticulous cleaning is paramount.
Polishing: Polishing is the transformative stage that brings out the natural beauty of the wood and provides long-lasting protection. Choose a high-quality floor polish or sealer appropriate for the type of wood used in your floors. Using a clean applicator or roller, apply the polish evenly across the floor, working in manageable sections. Avoid over-application, as excess polish can lead to uneven drying and streaking. Allow the first coat to dry completely before applying subsequent coats for added durability and shine.
 5.Finishing Touches: Once the final coat of polish has dried, inspect the floor for any touch-ups or imperfections. Lightly sand any rough patches or drips with fine-grit sandpaper, being careful not to damage the surrounding areas. A final buffing with a soft cloth or buffing machine can enhance the sheen and smoothness of the finish, leaving your floors looking immaculate.
6. Maintenance and Care: Proper maintenance is essential to prolonging the life and beauty of your newly polished floors. Use furniture pads or felt protectors to prevent scratches from heavy objects. Regularly sweep or vacuum to remove dirt and grit that can cause abrasions over time. Additionally, periodically reapply a fresh coat of polish to maintain the shine and protect the wood from wear and tear.
In conclusion, the process of sanding and polishing floors in Melbourne is a meticulous art that requires careful attention to detail and the use of quality materials. By following these steps diligently, you can achieve stunning results that enhance the aesthetic appeal and value of any space. So, roll up your sleeves, unleash your creativity, and transform your floors into works of art that captivate and inspire.


